HOME SECURITY
Practical Ways to Market Your Business Online
Marketing your business online is no longer optional—it’s a fundamental part of modern growth. Whether...
Learn More

![]() January 15, 2026
January 15, 2026
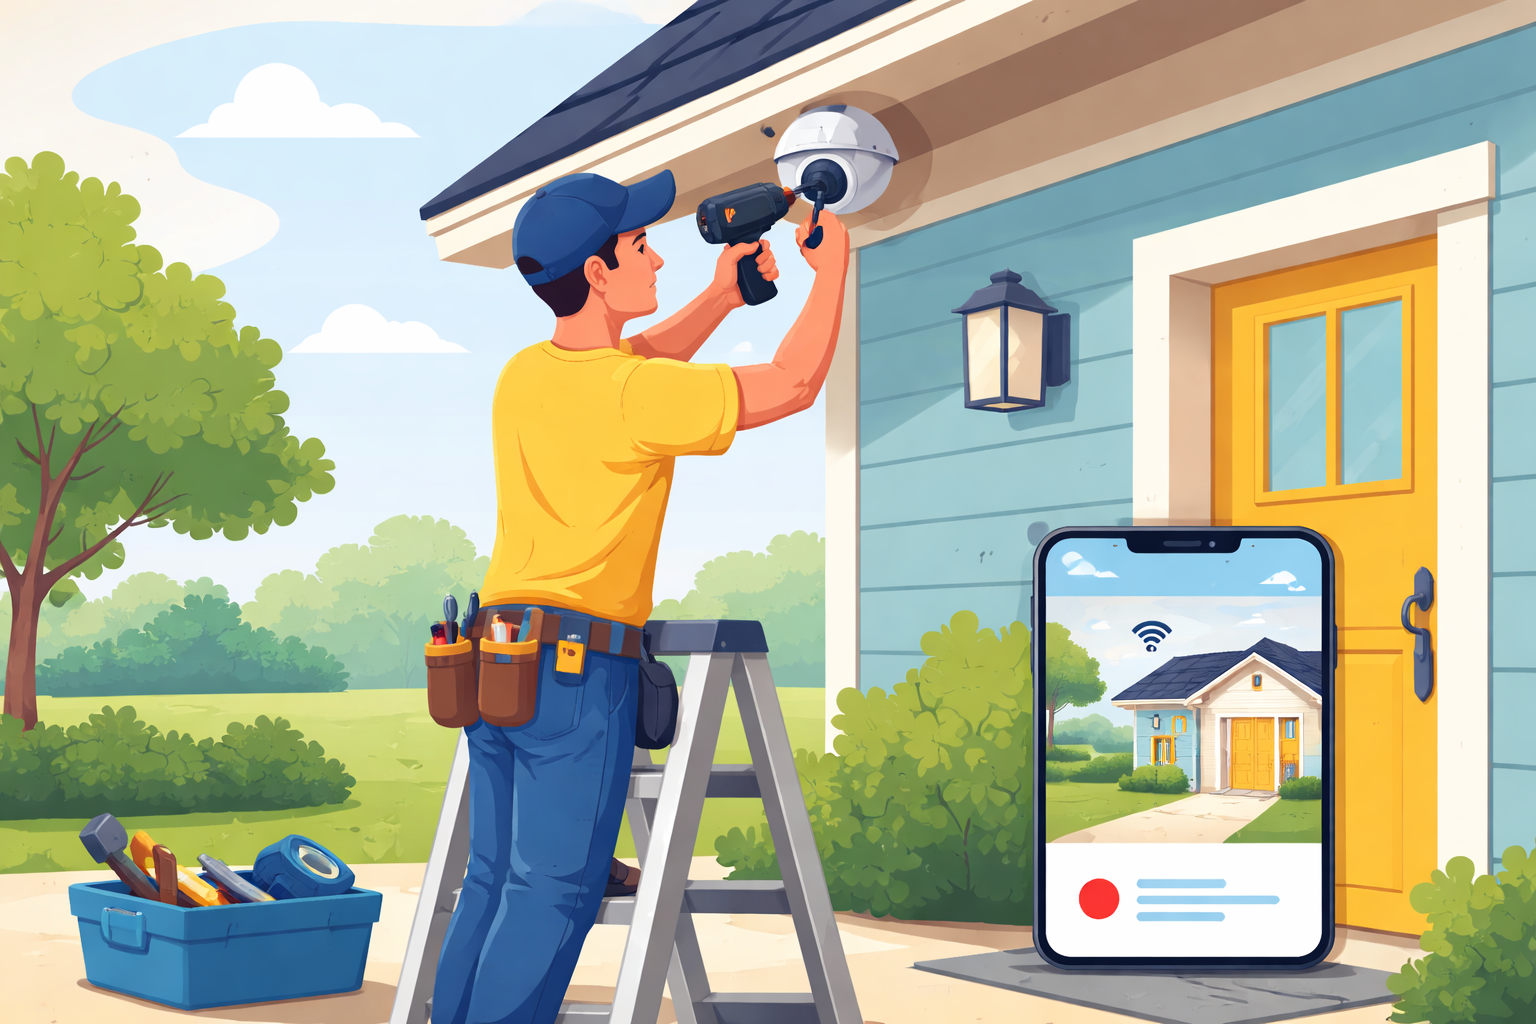
Home security has become more personal than ever. Instead of relying solely on professional installers, many homeowners now prefer to take control by setting up their own security cameras. Self-installation isn’t just about saving money—it’s about understanding your space, choosing the right coverage, and building a system that fits your lifestyle.
With modern camera systems designed for simplicity, installing your own security camera is far more achievable than it used to be. Whether you live in a house, townhouse, or apartment, a well-planned DIY setup can deliver reliable home protection and long-term peace of mind.
This guide walks you through the full process, from choosing the right camera to installing it properly and ensuring it works exactly the way you need it to.
Self-install security cameras have surged in popularity for a reason. Technology has evolved to support plug-and-play devices, mobile app integration, and wireless connectivity, making installation accessible even for beginners.
Beyond convenience, homeowners appreciate having direct control over their surveillance setup. You decide where cameras go, how they’re configured, and how they integrate with your daily routine.
One of the most immediate benefits is cost savings. Professional installation fees can add up quickly, especially for multi-camera setups. By installing the system yourself, that budget can be redirected toward higher-resolution cameras, cloud storage, or additional coverage points.
Over time, this approach also reduces service dependencies, keeping ongoing expenses minimal.
Self-installation gives you freedom. You choose the camera type, resolution, and features that matter most—whether that’s motion detection, two-way audio, or night vision.
Many homeowners begin with a basic setup and expand gradually. This flexibility allows you to adapt your system as your needs change without scheduling service visits.
No one understands your home better than you do. Installing cameras yourself allows you to position them based on real-world usage, blind spots, and daily traffic patterns.
Instead of default placements, you can optimize angles to monitor entry points, outdoor areas, and interior spaces more effectively.
Before installation begins, choosing the right camera is critical. Not all security cameras serve the same purpose, and understanding your options will help ensure long-term satisfaction.
Modern camera systems come in several formats, each designed for specific environments and coverage needs.
Wireless security cameras are among the most popular options today due to their ease of installation and flexible placement. These systems rely on Wi-Fi connectivity and are well-suited for both indoor and outdoor use.
Dome cameras are often used indoors and in covered outdoor areas. Their compact design blends into ceilings and walls while providing wide-angle views.
Bullet cameras are more visible and are typically installed outdoors. Their design acts as a deterrent while delivering focused coverage of specific areas like driveways or gates.
PTZ cameras allow remote control for panning, tilting, and zooming. These are ideal for larger properties that require flexible monitoring.
When choosing a security camera, resolution should be a top priority. Higher resolution ensures clearer footage, which is especially important for identifying faces or license plates.
Field of view determines how much area the camera covers. Wider angles reduce the number of cameras needed but may sacrifice detail at long distances.
Night vision is essential for around-the-clock protection. Look for infrared or color night vision depending on your lighting conditions.
Weather resistance is critical for outdoor installations. Cameras rated for rain, dust, and temperature changes will last longer and perform more reliably.
A successful self-install starts with proper planning. Rushing into installation without a clear layout often leads to blind spots or unnecessary rework.
Begin by identifying the areas that need coverage. Entry doors, garages, backyards, and side passages are common priority zones. Indoors, hallways and main living areas provide useful visibility.
Consider lighting conditions throughout the day. Cameras facing direct sunlight may need repositioning to avoid glare, while darker areas may benefit from enhanced night vision.
Having the right tools on hand makes installation smoother and faster.
A standard screwdriver is essential for mounting brackets securely.
A power drill simplifies installation, especially when mounting on brick or concrete surfaces.
Ethernet cables may be required for wired cameras or initial setup.
A smartphone or tablet is necessary for app-based configuration and live viewing.
Before starting, ensure your Wi-Fi network is stable and reaches all intended camera locations.
Begin by attaching the mounting bracket to your chosen surface. Use a level to ensure proper alignment, especially for outdoor cameras where angles matter.
Secure the bracket firmly to prevent movement caused by wind or vibrations.
Attach the camera to the bracket and adjust the angle. Most modern cameras allow for easy rotation and tilt adjustments.
Before tightening all screws, preview the camera feed using the mobile app to confirm optimal positioning.
For wired cameras, connect the power cable and ensure it’s safely routed. For wireless models, insert the battery or connect the charging cable.
Follow the app instructions to connect the camera to your Wi-Fi network. This process usually involves scanning a QR code or pressing a sync button.
Once connected, customize your camera settings. Adjust motion sensitivity, notification preferences, and recording schedules.
Enable alerts that matter most to you while minimizing false notifications caused by pets or passing vehicles.
After installation, test your system thoroughly. Walk through monitored areas to confirm motion detection accuracy and notification delivery.
Review both daytime and nighttime footage to ensure image clarity. Make small adjustments to angles or settings if necessary.
Testing early helps avoid missed events and ensures your system performs reliably when it matters most.
Self-installed security cameras require minimal maintenance, but regular checks keep them working at peak performance.
Clean camera lenses periodically to prevent dust or debris from affecting image quality.
Check battery levels if you’re using wireless models.
Update firmware through the app to access security improvements and new features.
A few minutes of maintenance every few months can significantly extend the life of your system.
Occasional connectivity issues can occur, especially with wireless systems. If a camera disconnects, check your Wi-Fi signal strength and power source.
Motion alerts that trigger too often can usually be adjusted by lowering sensitivity or redefining detection zones.
Most issues can be resolved through app settings without the need for professional assistance.
For most homeowners, the answer is yes. Self-installation provides cost efficiency, flexibility, and a deeper understanding of your home security system.
With today’s user-friendly technology, DIY security cameras deliver performance comparable to professionally installed systems when set up correctly.
By investing a bit of time upfront, you gain long-term control, adaptability, and confidence in your home’s protection.
Most single-camera installations take one to two hours, depending on mounting surface and setup experience.
Yes. Many systems are designed for gradual expansion, allowing you to add cameras as needed.
No. Routine maintenance such as cleaning lenses and updating firmware can be handled easily by homeowners.
Check your Wi-Fi signal, restart the camera, and verify power. Most issues are resolved quickly through basic troubleshooting.
When installed correctly and maintained properly, self-installed cameras provide comparable security and reliability.

How to Run a Successful Franchise Without Guesswork
Mar 20, 2026
")
Fix WiFi Sign-In Issues on Android (2026 Guide)
Mar 18, 2026

Equipment Loans: Smart Funding or Costly Mistake?
Mar 17, 2026

5G / 6G: What Dealers Must Prepare For
Mar 16, 2026
")
Comcast Business vs Residential Internet (2026 Guide)
Mar 13, 2026

4
Mar, 2026
HOME SECURITY
Marketing your business online is no longer optional—it’s a fundamental part of modern growth. Whether...

20
Feb, 2026
HOME SECURITY
In an increasingly competitive business environment, companies are under constant pressure to operate more efficiently...
18
Feb, 2026
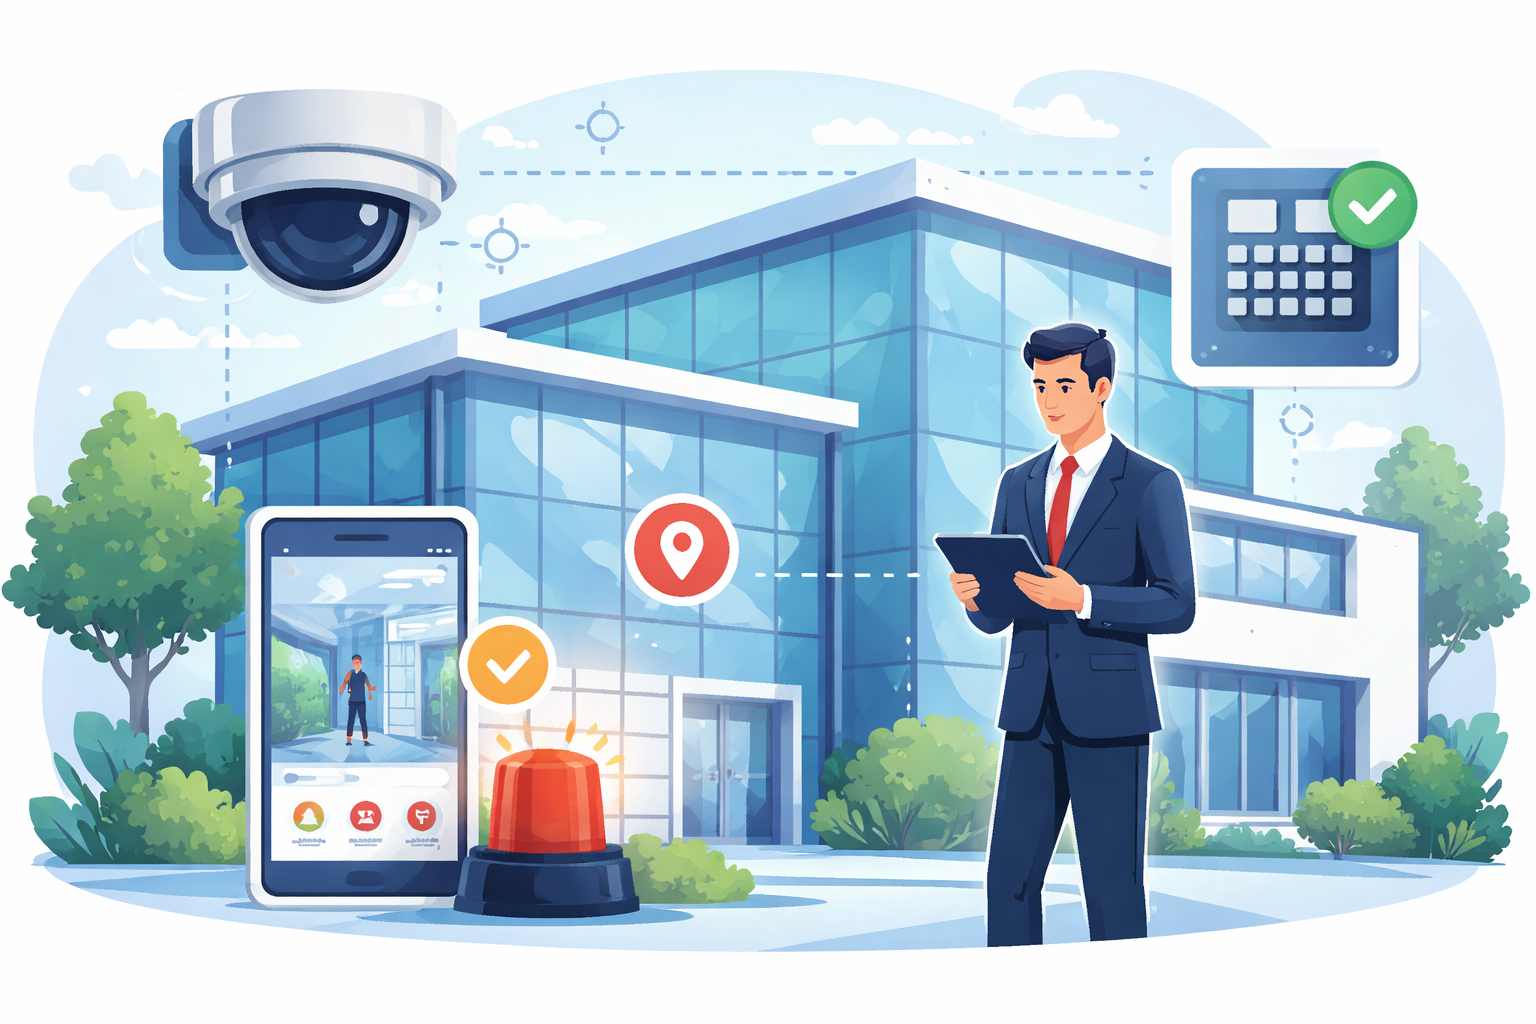
HOME SECURITY
Business security has moved far beyond traditional alarm systems and basic CCTV cameras. Today’s smart...